Article
-
 Editorial team
-
- Process Mapping
- 2 min reading

What is process mapping?
Process mapping is a way to visualize how work is actually done - step by step. You see what is done, by whom and in what order. It helps you identify bottlenecks, build consensus and improve the way you work. In AM System, you can easily draw, share and follow processes visually - directly in a clickable system.
- Identify and eliminate unnecessary steps
- Create clarity and common understanding
- Facilitate onboarding and internal training
- Streamline flows and increase quality
- Link processes to goals and results
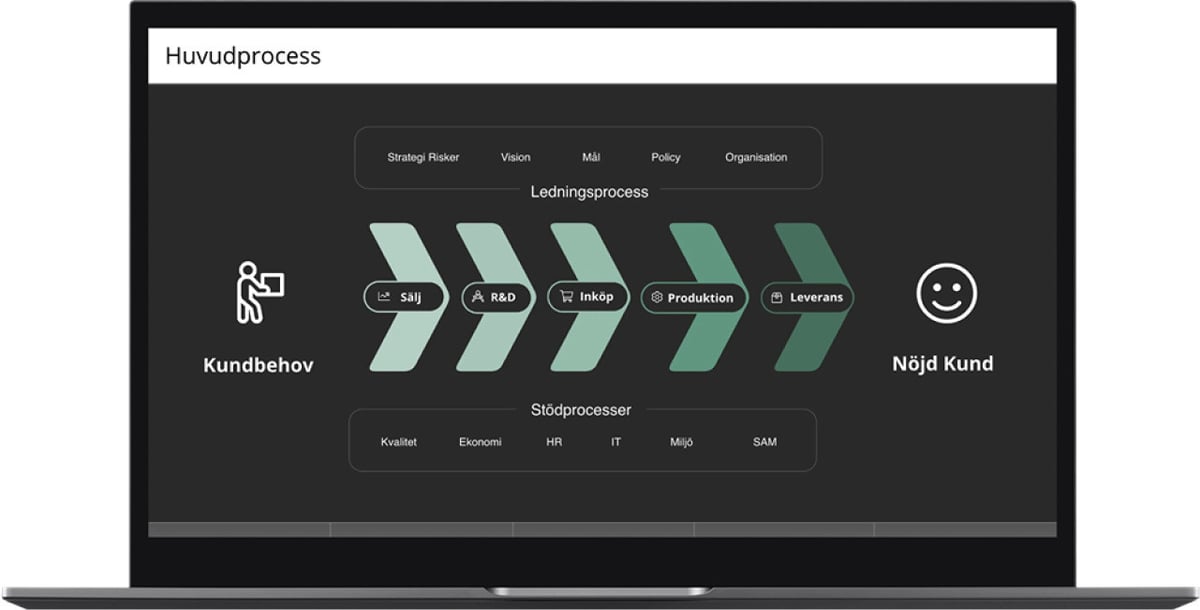
Process map example
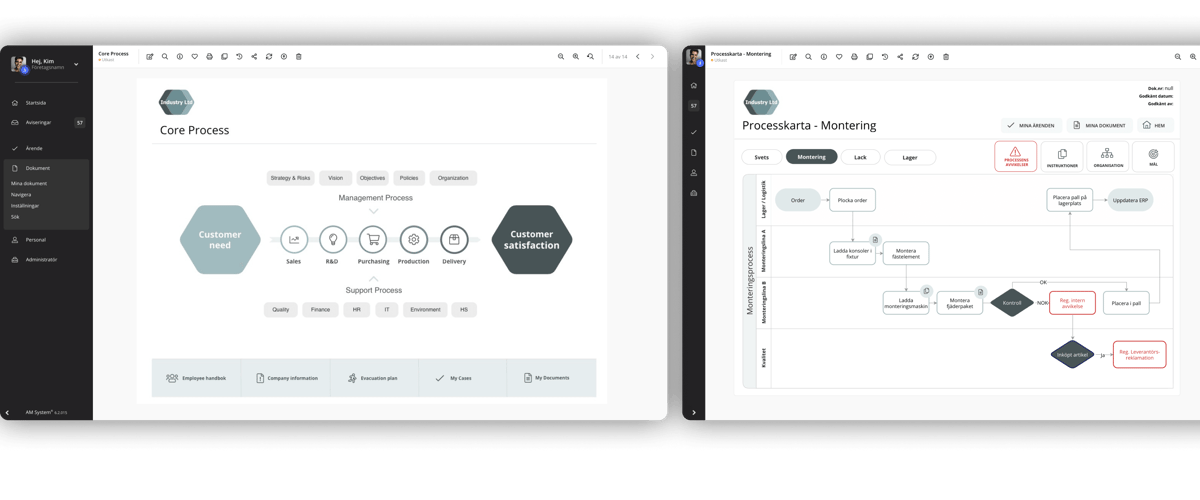
A process map is a high-level visual overview of the whole process - it shows the main steps involved, often focusing on who does what rather than exactly how each step is done.
- Focusing on main activities
- Shows the start and end of the process
- Identifies responsibilities (e.g. with swim lanes/lane charts)
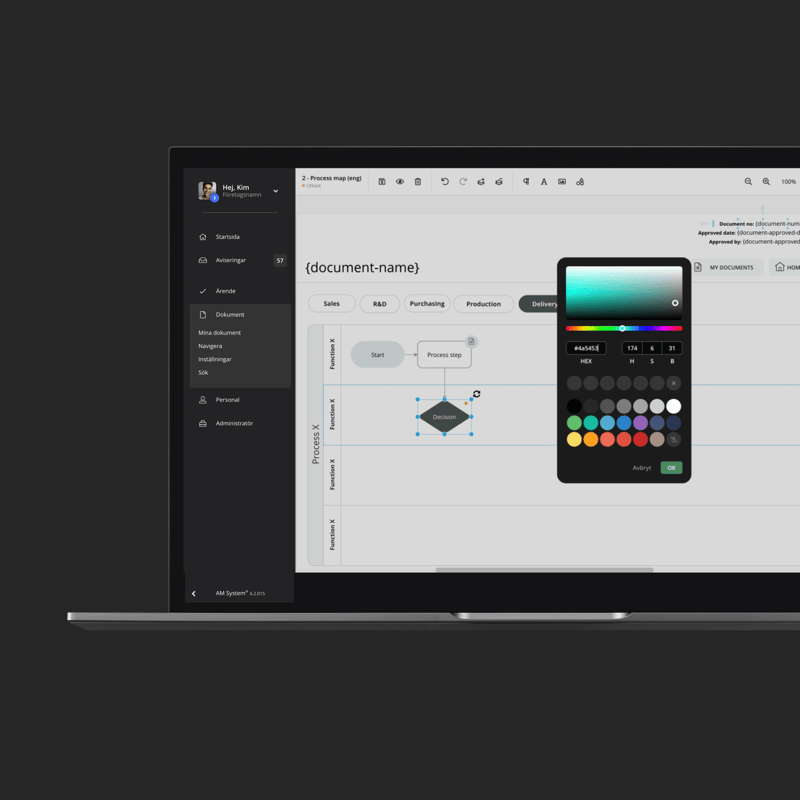
Flowchart example
A flowchart is a graphical description of a process where you use symbols to show decisions, activities and results. It is a powerful tool for documenting, analyzing and improving workflows.
- Uses symbols
- Shows clear paths for each choice or step
- Helps to find bottlenecks or detours
- Fits both simple and complex processes
- Makes it easy to communicate process logic visually
Process map template
Creating a process map doesn't have to be complicated. With the right template, you can get started quickly and start building flows that reflect your reality. AM Systems' digital management system offers ready-made templates and visual features that facilitate the creation, editing and sharing of process maps.
Step 1 - Identify the process
Start by choosing the process you want to map, for example invoice management, supplier management or new employee onboarding. Think about what the process will lead to, who is involved and what steps are involved.
Step 2 - Describe step by step
Write down each step of the process in the order it happens. Include responsible persons or roles and decision points. The aim is to make it easy to follow and understand.
Step 3 - Visualize the process
Use a template or a digital tool like AM System to draw the process. Drag and drop symbols for activities, decisions and links. Keep it visually clean and clear - it should be understandable at a glance.
Step 4 - Anchor and improve
Go through the process map together with colleagues. Capture feedback, adjust if necessary and make sure everyone understands and agrees. Once the process is set, you can start working in a more structured way and more easily improve your work over time.
Flowchart symbols
A flowchart uses standardized symbols to clearly show what happens at each step. The symbols make it easier to interpret the logic of the process, no matter who is looking at it.
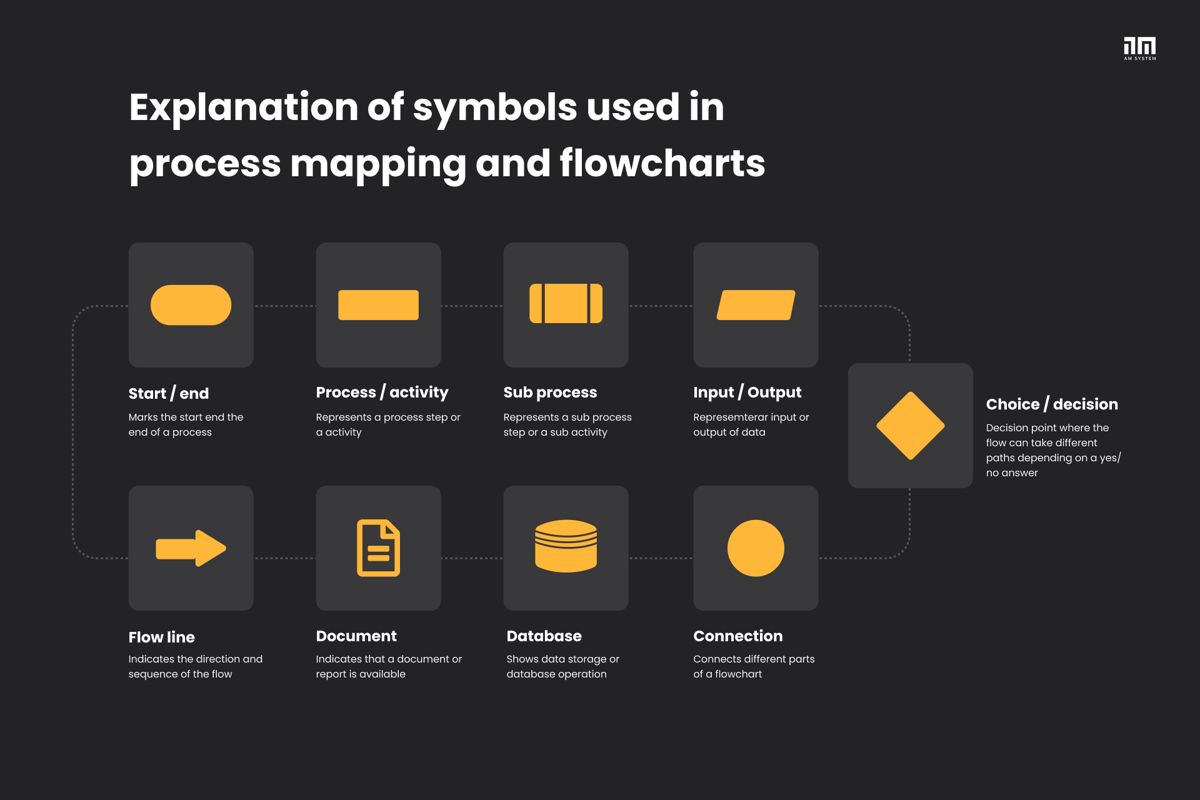
Explanation of symbols used in process mapping and flowcharts
Create process flowcharts with AM System
With AM System, it is easy to go from idea to finished process map. You get a digital tool where you can draw, change and share processes directly in the system - visually and clickable. Connect to the desired documentation and data, add responsibility and get full control. Want to try it yourself? Try AM System for free and see how much easier it becomes to work in a structured way.
Get a demo
Ready to make work easier - and more enjoyable?
Want to see for yourself how AM System can make a difference for you? Book a demo and discover how easy it is to create structure, efficiency, and seamless workflows in your daily operations.